Pro Tips - Bottom Loading Shock Rebuild
In this Tech tip I’m going to show you how to disassemble, clean, and rebuild bottom loading shocks.
The most important thing to know of when working with shocks is you need to be VERY clean. Having a few rags and basic tools will be needed as well. Be very careful with shock oil because it stains clothing.
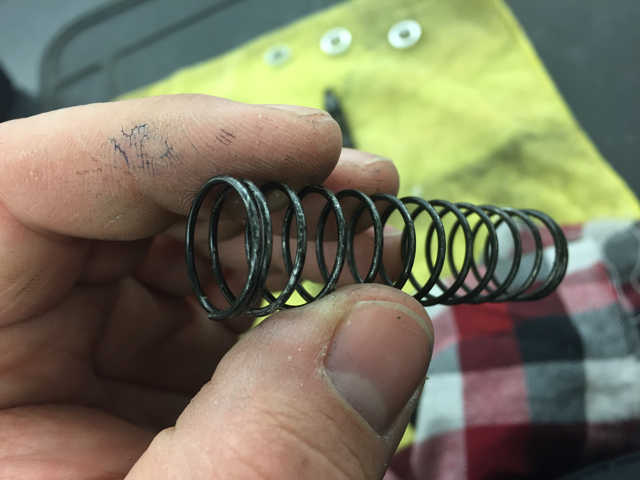
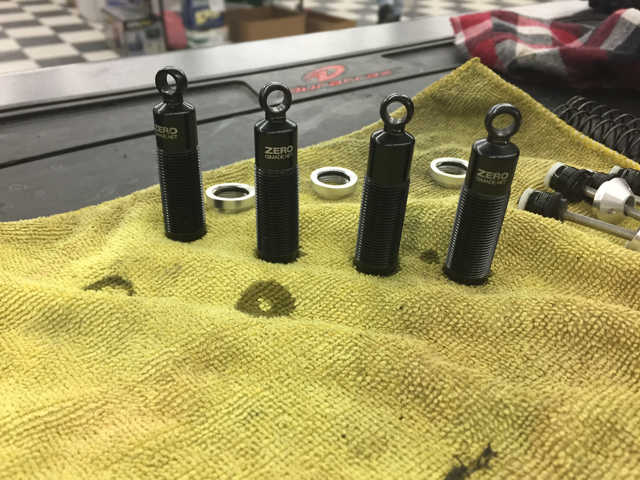
The first thing to do is lay out the shocks on a cloth and remove the springs.
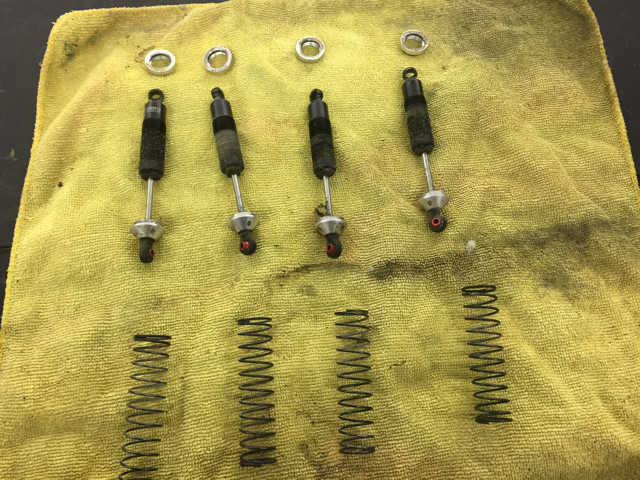
Now that we have them all laid out you can see how dirty these
shocks are and they are in desperate need of a rebuild.
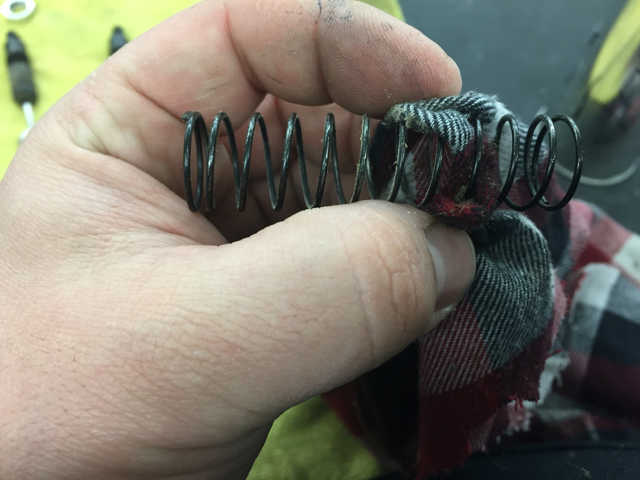
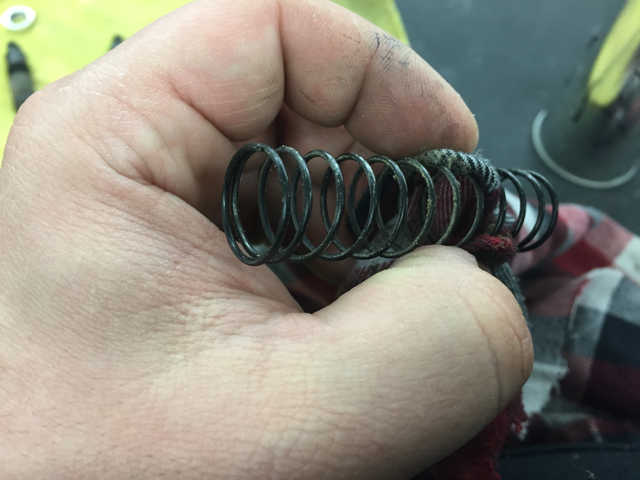
When I clean springs I slide the rag through sideways and pull it up.
I then threat the spring through and this usually removes all the dirt.
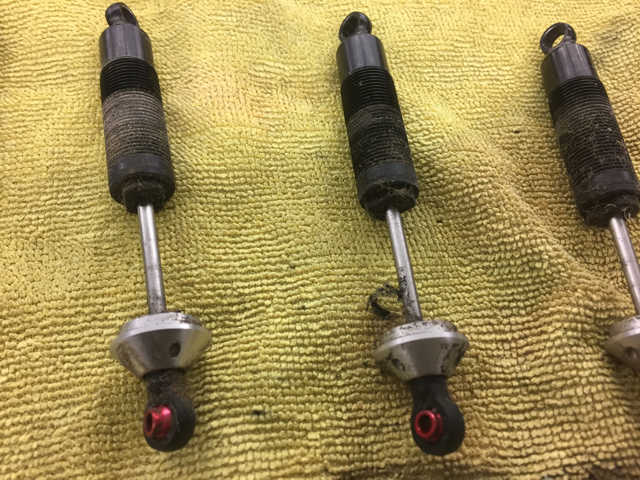
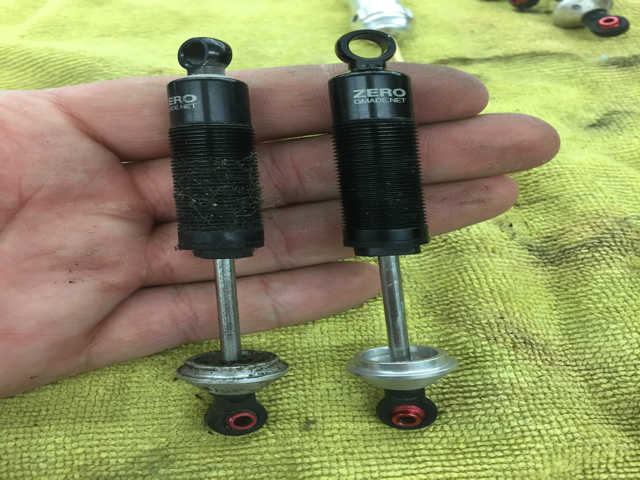
Before disassembling the shocks I like to clean the whole outside
to make it less messy when they are apart. It saves from contaminating
them when re-assembling (clean one is on the right).
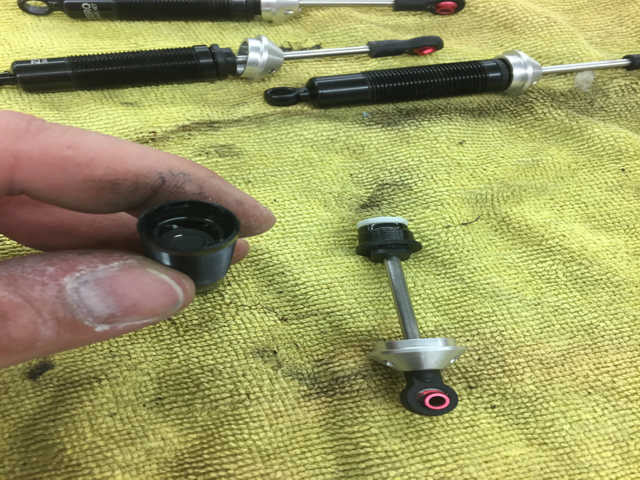
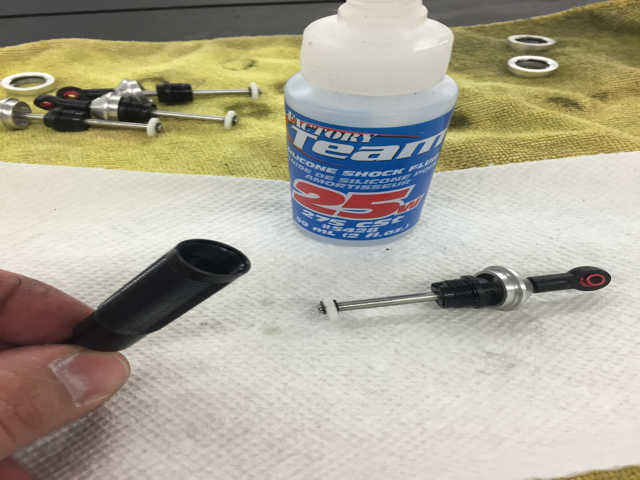
Now you can pull the bottom off of the shocks and dump all the oil out.
You can tell from the picture they needed to be re-done badly.
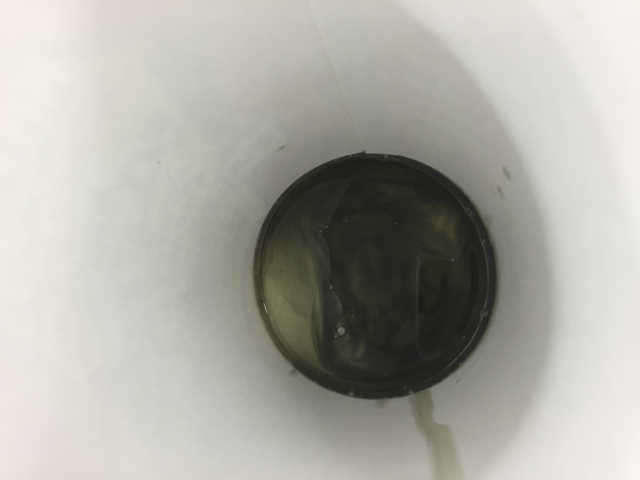
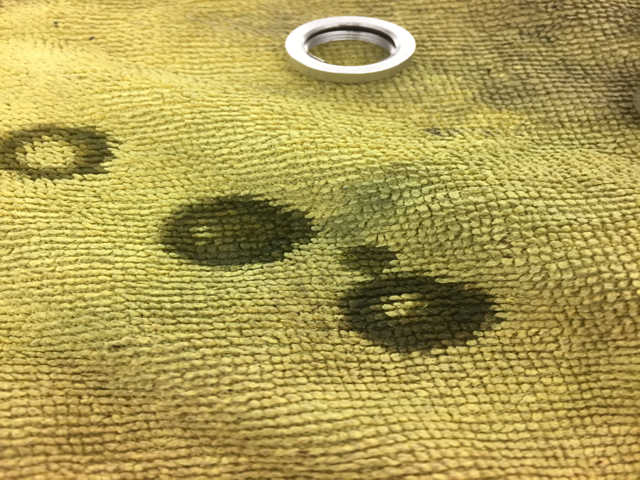
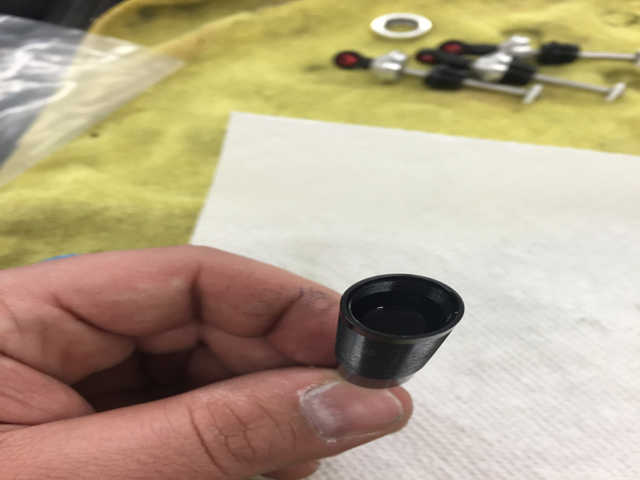
Once you dump all the oil out it's a good idea to let the shock bodies
drain. Then clean them out with a fresh paper towel or q-tip. You
can tell how dirty they are from the pictures.


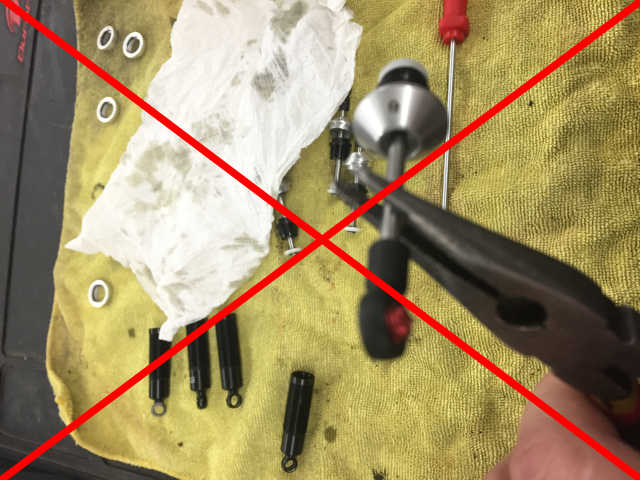
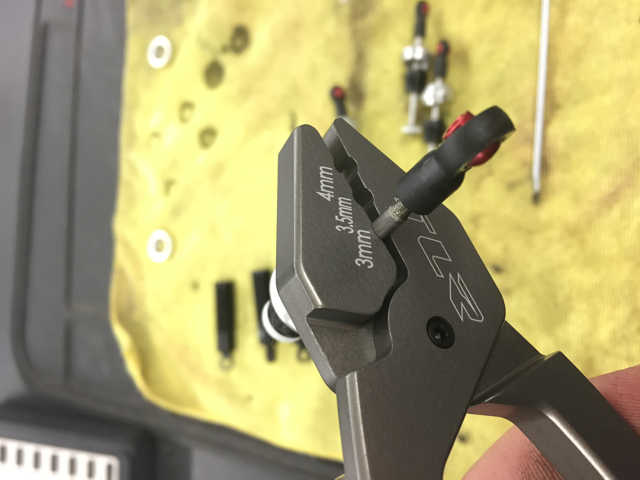
To get the shocks further apart we need to remove the rob ends. Be
VERY careful when doing this and it is very important to use
protection on your pliers or buy proper shock pliers.
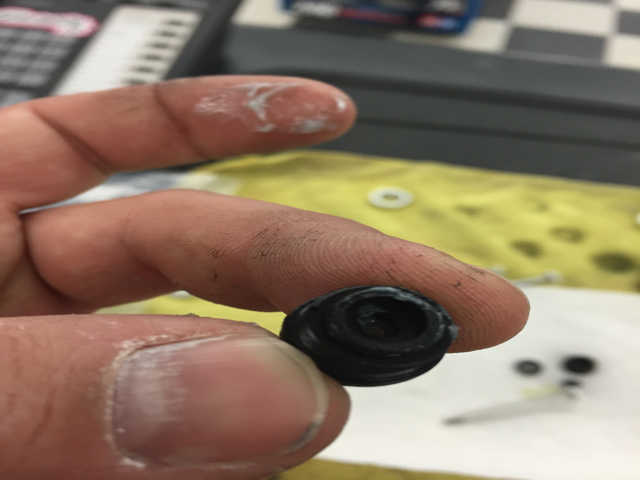
Now with all the shafts removed you can pop the cartridges apart.
This can take some patience so take your time and make sure not to
damage anything.

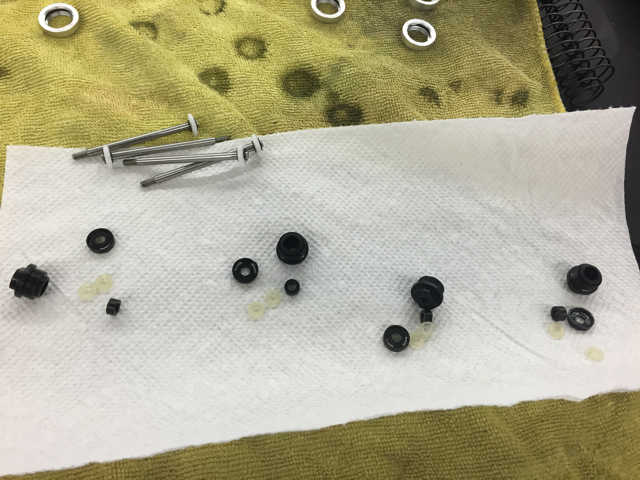
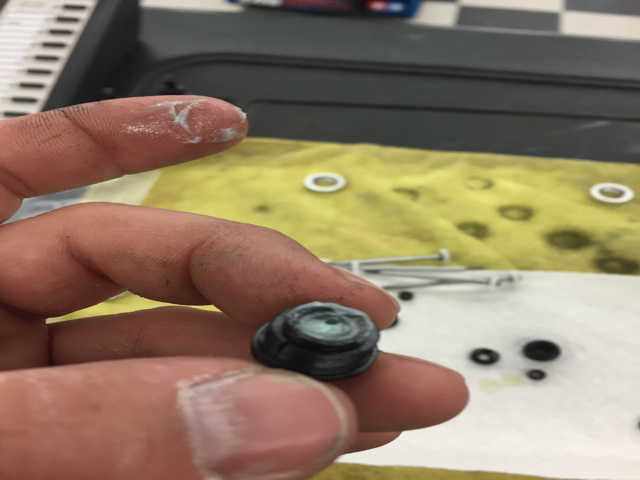
Now it is time to lay out all the parts and inspect all components
for wear or damage. If you see any scoring in shocks shafts, broken
ripper or torn o-rings these MUST be replaced.
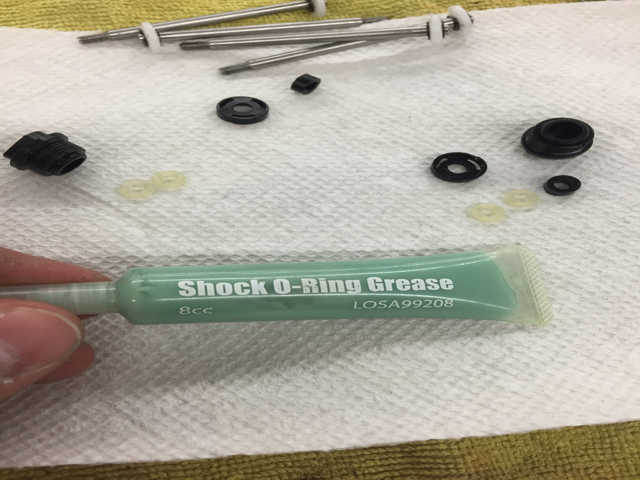
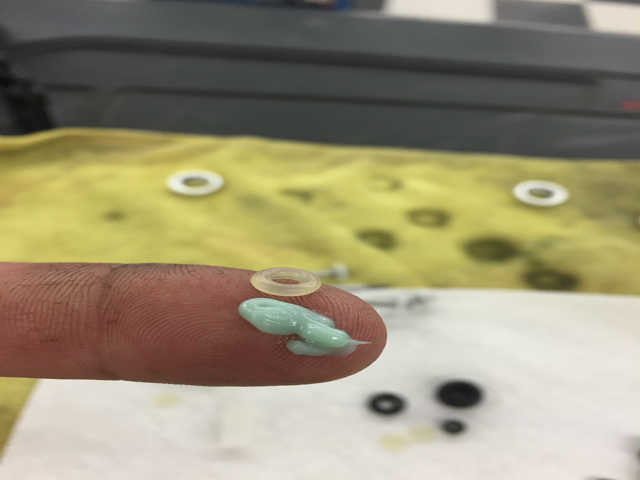
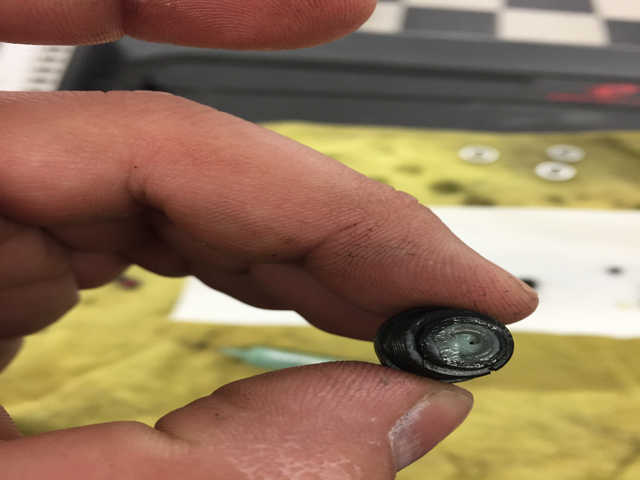
For reassembly I ALWAYS use green slime or shock o-ring grease.
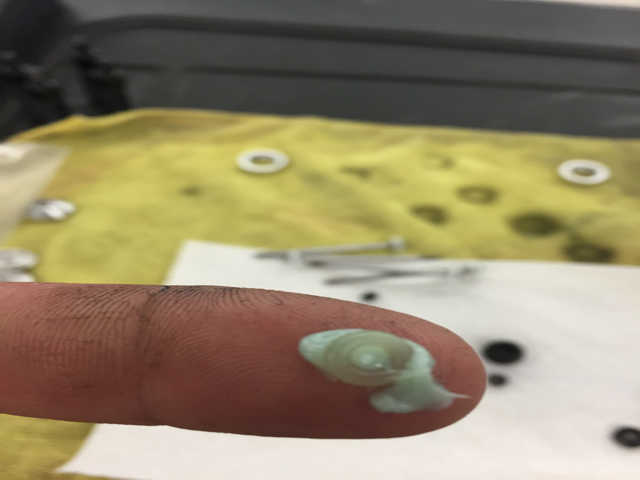
When using it it's always better to apply a liberal amount and rub
it into the o-ring between your fingers. After that install it into
the cartridge and install the spacer. Do the same step to the final
o-ring.

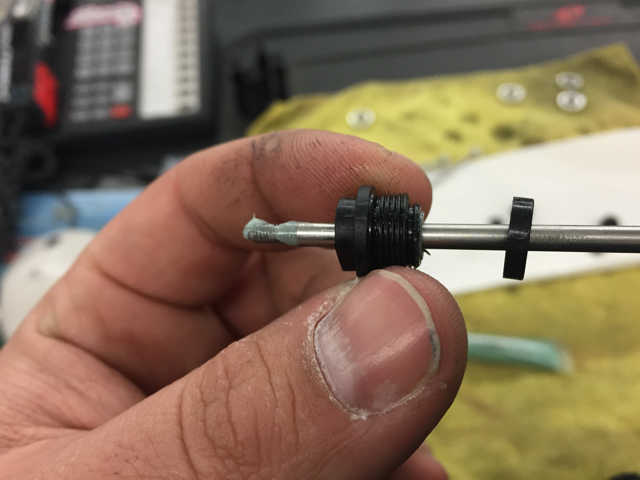
When installing the shock shaft make a screwing motion so the
o-rings do not get damaged. After the shaft is inserted I clip the
cartridge together so it leaves the pressure off the o-rings until
the shaft is in place.
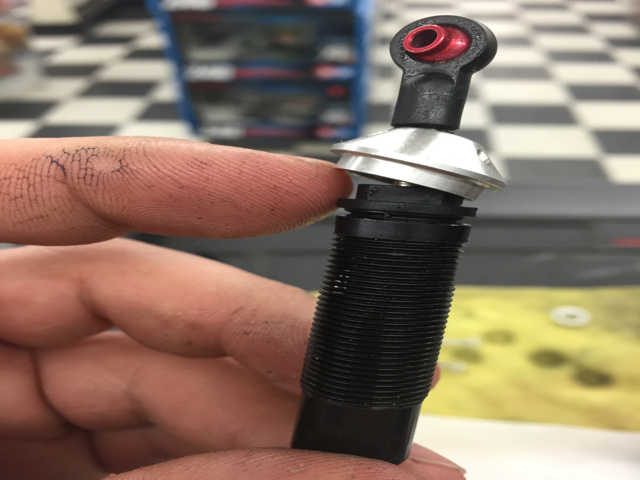
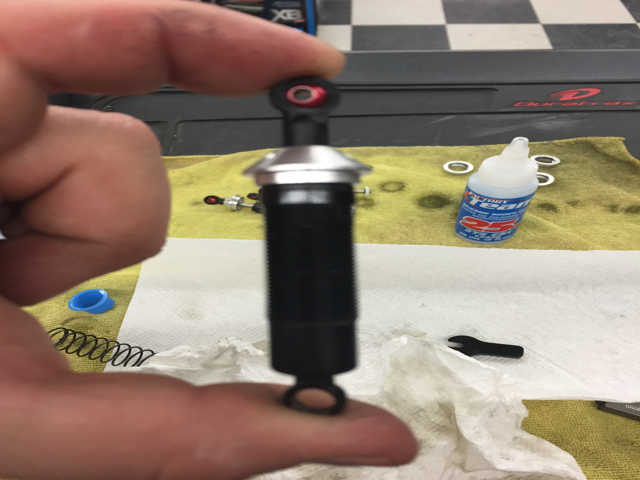
Now we can re-install the shock bottom and rod end.

Fill the shock body about 3/4 of the way full. Make sure there are
no air bubbles. Install the cartridge with the shaft fully pushed in.
The reason for doing this is so we could insert the piston to the shock
oil and stop it from bubbling when doing so. Once the piston is
halfway in you can slide the cartridge down and start to threat it in.
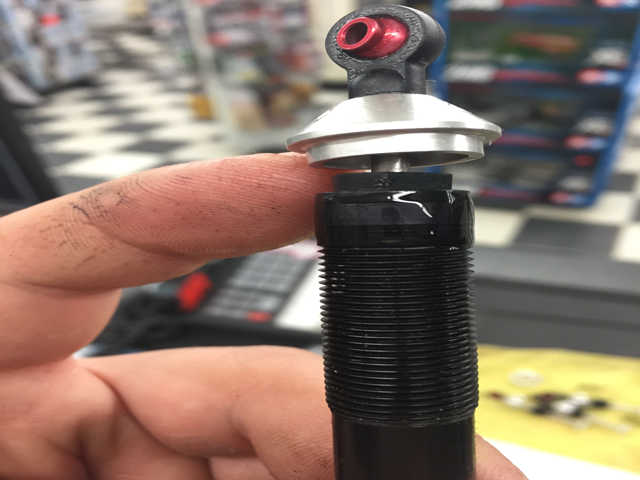
When you get to 2/3s of the way tight you should see oil coming out
from the bleeder hole. You need to see this because if not there
will be air caught in there. After you see this you can push the
shaft in and tighten it all the way down. If not top-up the oil and
try again.
After that is done you can re-assemble the springs and install the
spring collars. You're all done!